How Are Tight Tolerances Confirmed in Laser Cutting?
When precision is non-negotiable, tight tolerances become a critical aspect of manufacturing. At A-Laser, we work with tolerances as tight as ±0.0005″, ensuring that each component meets exacting specifications. But how do we confirm these tolerances with confidence? The process involves a combination of CAD modeling, laser tool development, optical gauging inspections, and GD&T principles to validate every dimension with accuracy.
1. CAD Work: The Foundation of Precision
Computer-Aided Design (CAD) is the starting point for achieving tight tolerances. Engineers create detailed 2D and 3D models, specifying critical dimensions and tolerance requirements. These digital blueprints serve as the foundation for both manufacturing and inspection.
-
Geometric dimensioning and tolerancing (GD&T) is applied within CAD software to define permissible variations in size, shape, and position.
-
Design validation is conducted using simulations to predict how the part will react to real-world applications before fabrication begins.
2. Laser Tool Development: Customizing for Accuracy
Unlike traditional machining, laser cutting requires tailored toolpath programming to achieve micron-level precision.
-
Optimized laser parameters (beam intensity, pulse frequency, and assist gas settings) are fine-tuned to minimize heat-affected zones and ensure clean cuts.
-
Material-specific adjustments are incorporated to account for variations in thermal expansion, reflective properties, and thickness.
-
Test runs and calibration refine the laser path, ensuring consistency across production batches.
3. OGP Inspection: High-Resolution Validation
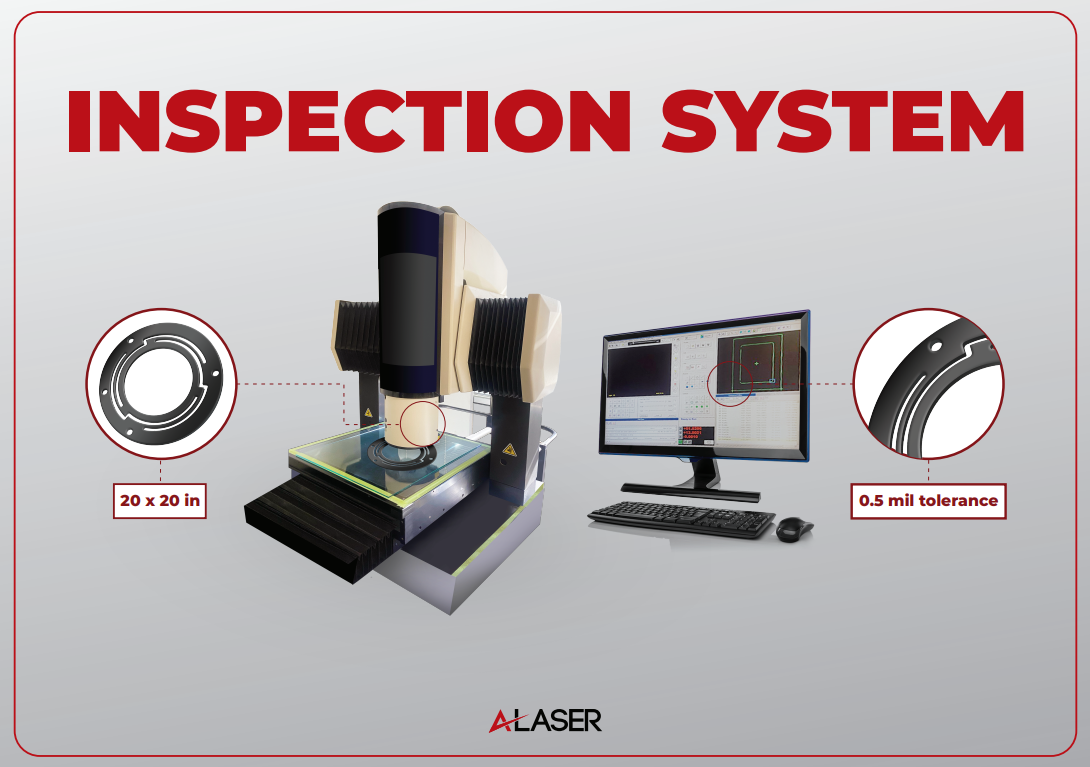
Optical Gaging Products (OGP) inspection systems provide non-contact measurement methods to confirm that manufactured parts align with CAD specifications.
-
Video and laser scanning technology precisely measures features down to microns, eliminating human error.
-
Automated measurement routines capture complex geometries, including edge sharpness, hole diameters, and intricate contours.
-
Comparisons with CAD models highlight any deviations, allowing for real-time process adjustments.

4. GD&T Principles: Defining and Enforcing Precision
GD&T (Geometric Dimensioning and Tolerancing) ensures that every part meets functional requirements by defining permissible variations.
-
Datums and reference frames establish consistent measurement points.
-
Feature control symbols dictate allowable deviations in flatness, perpendicularity, concentricity, and more.
-
Statistical process control (SPC) ensures that variations remain within acceptable limits throughout production.
Confirming tight tolerances requires a holistic approach, from CAD modeling and precise laser tool development to high-resolution OGP inspections and GD&T enforcement. At A-Laser, we combine cutting-edge technology with meticulous quality control to guarantee that every part meets the highest precision standards. Whether you’re working on aerospace components, medical devices, or intricate electronics, our process ensures that your specifications are met—down to the micron.
