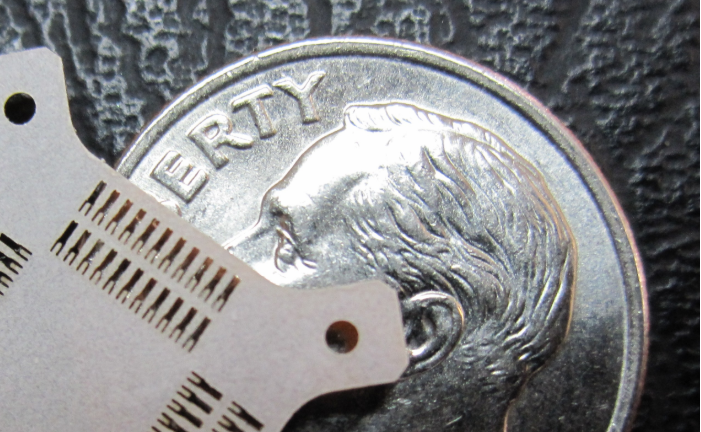
“What Tolerance Can You Hold?”
When speaking to people about our laser cutting services, one of the most frequent questions I get is: “What tolerance can you hold?”. Tolerance is an important part of laser cutting, and in many cases, is influenced by several factors in the precision parts process. For R&D, the tolerance range can be fairly open and can be as much as +/- 5 to 8 mils. At first, we try different values to test different ideas, and as work progresses, the tolerance range and the project details tighten up. This is where the team consisting of CAD and laser engineers collaborate on projects more closely to create the parameters, or what we call the “laser tool”, that will ultimately get the project to the desired state.
But why might you choose laser services over other similar technologies in the first place? Firstly, laser cutting can be very precise. Our systems utilize UV and IR laser systems, which have beam diameters of 20 and 35 um, respectively. For mechanical engineers seeking a tolerance of +/- 1mil and +/- ½ mil, laser cutting can be a great choice for high precision projects. Other lasers, like CO2, will give you about +/- 5mils. While other technologies like die-cutting can be at +/- 10mils, sometimes tighter and sometimes a bit more open. Tolerance will vary depending on a number of factors, including: the material, the thickness, the geometry being cut, and the edge quality needed. These factors must always be considered for every project that is submitted. For quick R&D or proof of concept, a quicker process is usually preferred. But when the work is crucial and can significantly affect the quality of the finished product…say for example, for a medical device, the loose ends need to be brought in to ensure the proper specifications of the final product are met.

A project requiring Kapton HN in 5 mils, with geometry totaling about 200mm with a +/- 4 mils, will be done with no issues and we call this non-critical. The same project, with a new tolerance of + .001”/- 0, with no edge discoloration and an AQL level inspection, is what is known as a critical project. The laser tool for this critical project will have to be adjusted to meet the required criteria. Factors of the laser speed and the geometry will be adjusted so that when the parts go through inspection and quality control, they will pass. If the material remains the same, but the thickness changes, again the expected tolerance will be there, but adjustments will be needed due to the change in thickness. The laser might need, for example, more power or additional passes to the “tool”.
Therefore, to answer the question I receive most often regarding our laser cutting services, “What tolerance can we hold?”, the typical standard tolerance for our systems, both UV and IR is +/- .001”. The project details will have the most influence on what can be held and controlled. It often changes on a per-project basis, and to me that’s part of the fun. Seeing our expert staff solving issues for our customers, challenging themselves to see projects to completion, and striving to push the boundaries of what is possible in the precision parts process are all what keep me coming back every day.

About the Author
Joe has been part of the A-Laser team for over 10 years and has extensive experience with laser cutting technology, sales, and customer service. Joe was born and raised in San Jose, CA and has resided with his family in Gilroy, CA since 1997. The unique projects he gets to learn about and the industries they support, keep everyday new! His hobbies include photography, he is a member of the Morgan Hill Photography Club, hiking, model building and collecting vintage camping lanterns and stoves. His favorite places include Mount Lassen Volcanic National Park, Portland OR, and Boston MA.
