0.5 Mil Tolerance in Manufacturing
What 0.5 Mil Tolerance Really Means in Manufacturing
When engineers talk about precision, numbers matter. One of the most frequently misunderstood specifications is 0.5 mil tolerance. At first glance, “mil” might be mistaken for millimeter, but in U.S. manufacturing, 1 mil = 0.001 inch.
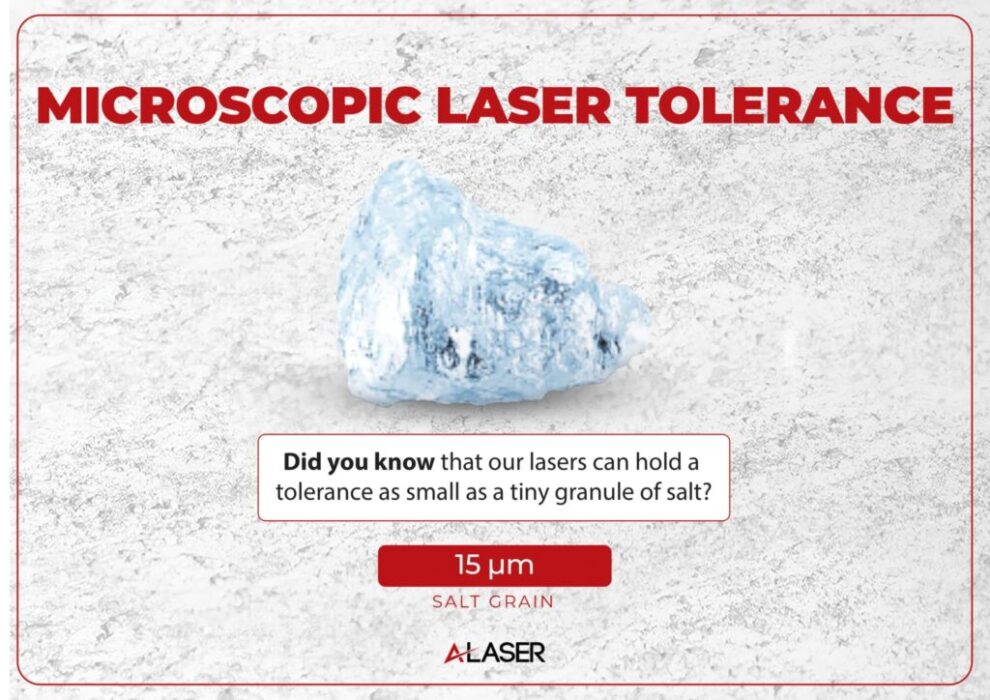
That means 0.5 mil = 0.0005 inch—just five ten-thousandths of an inch. To put it in perspective, a human hair is about 70 mils thick, so a 0.5 mil tolerance is roughly 140 times smaller than the width of a hair.
This ultra-fine margin is often required in industries where parts must fit together seamlessly, perform consistently under stress, and ensure reliability over long lifecycles—such as aerospace, medical devices, and electronics.

Why 0.5 Mil Tolerance Matters
Achieving 0.5 mil tolerance is not just about hitting a number—it directly affects part fit and function:
-
Interchangeability: Parts can be swapped without adjustment.
-
Sealing and Gasketing: A poor tolerance can lead to leaks or system failures.
-
Assembly Efficiency: Precision reduces rework and downtime.
-
Performance & Safety: In critical applications, even the slightest deviation can cause failure.
In short, specifying a 0.5 mil tolerance ensures that your components perform exactly as intended.
Methods for Achieving 0.5 Mil Tolerance
Different cutting and forming technologies have different capabilities. Some can reliably meet a 0.5 mil tolerance, while others cannot. Here’s a breakdown:
| Manufacturing Method | Typical Tolerances | Can It Hold 0.5 Mil? | Notes |
|---|---|---|---|
| Laser Cutting | ±0.25–1 mil | ✅ Yes | Ideal for thin metals, polymers, and composites. Precision optics and no-tool wear make lasers excellent for 0.5 mil tolerance requirements. |
| Stamping | ±2–5 mils | ❌ No | While fast and economical for volume runs, tool wear and material spring-back make 0.5 mil tolerance for stamping nearly impossible. |
| Waterjet Cutting | ±2–5 mils | ❌ No | Capable of tight tolerances on thicker materials, but 0.5 mil tolerance for water jet exceeds its limits due to kerf variation. |
| Die Cutting | ±5–10 mils | ❌ No | Best for high-volume, low-cost parts. Precision is limited, and achieving sub-mil tolerances is unrealistic. |
Choosing the Right Process for 0.5 Mil Tolerance
If your design requires 0.5 mil tolerance, the manufacturing process matters as much as the specification:
-
Laser cutting is typically the only viable method for this level of accuracy.
-
Stamping, waterjet, and die cutting are better suited for looser tolerances where speed and cost efficiency outweigh precision.
By aligning your tolerance requirements with the right cutting method, you reduce the risk of costly redesigns, rejects, and functional failures.
Key Takeaways
-
0.5 mil = 0.0005 in, a tolerance about 140× thinner than a human hair.
-
Such precision directly impacts fit, performance, and reliability.
-
Laser cutting is the leading process for meeting this specification.
-
Stamping, waterjet, and die cutting cannot realistically hold a 0.5 mil tolerance.
Need Components That Hold 0.5 Mil Tolerance?
A-Laser specializes in precision laser cutting services that achieve ultra-fine tolerances for metals, polymers, and advanced composites. Whether you’re developing prototypes or scaling production, we help ensure your parts are built to the tightest standards.
